Plaster & Stucco Trim
Showing all 24 results
-
Plaster Control Joint
-

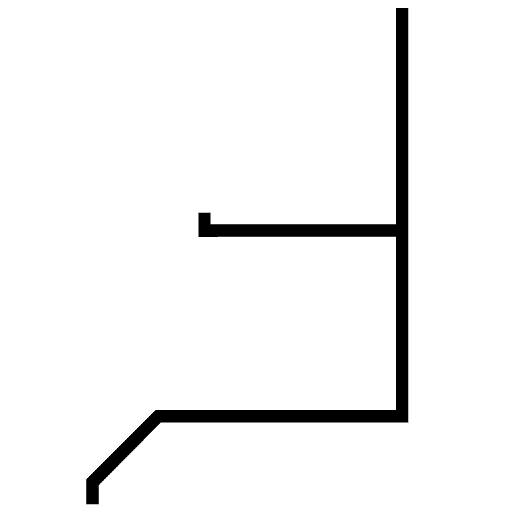
Plaster Channel Screed
-
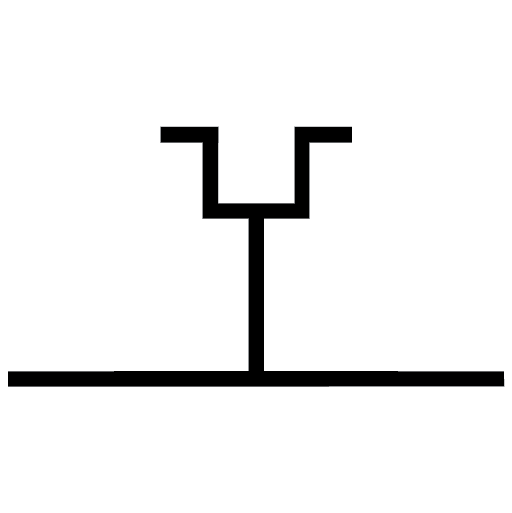
Plaster F-Mold
-

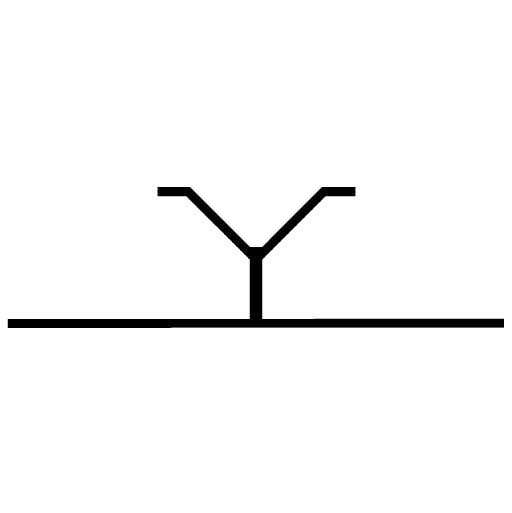
Plaster J-Mold
-
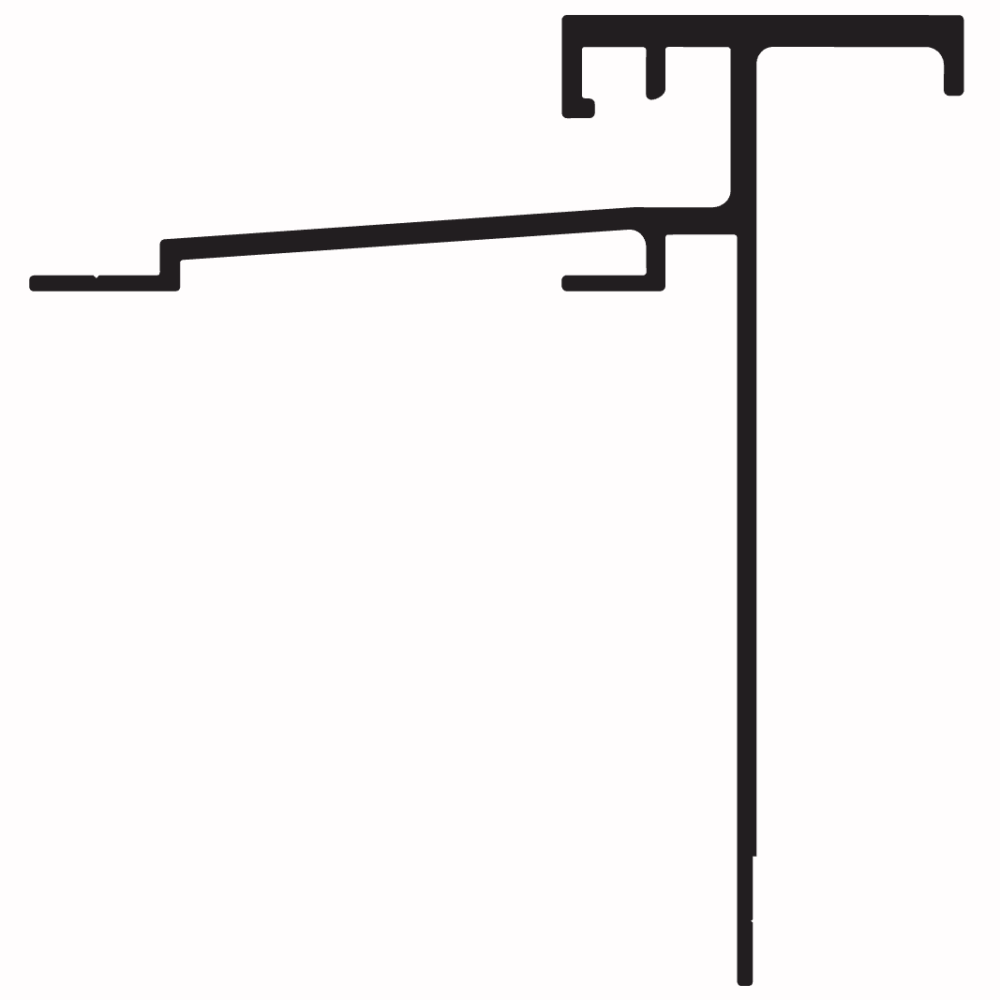
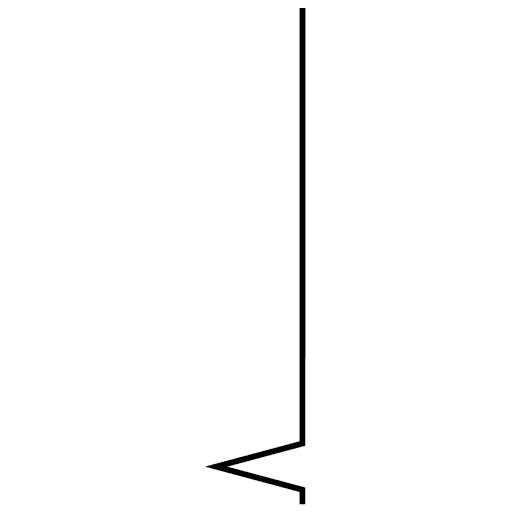
Plaster T-Mold
-

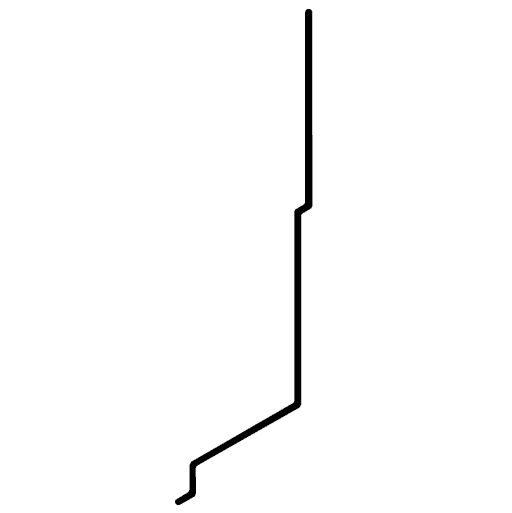
Drip Screed
-

2-Piece Drip Screed
-
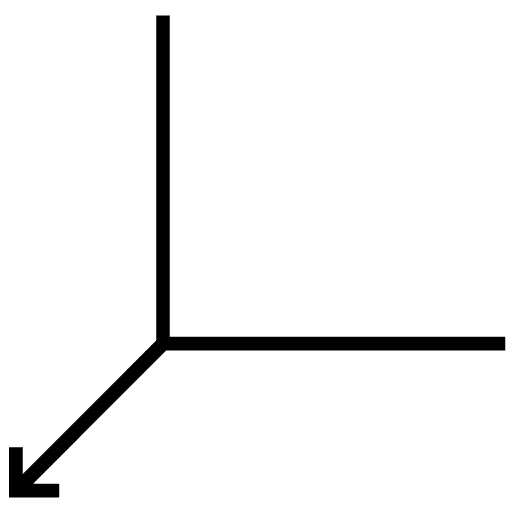
Fascia Corner Mold
-
Plaster Parapet Cap
-
Expansion Reveal
-
Weeping Expansion Reveal
-
Weeping Reveal
-
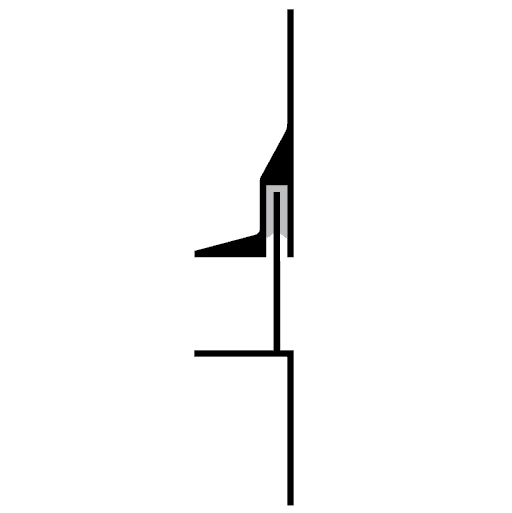
Self-Weeping Window Drip
-
Aluminum Weep Screed
-
Soffit W-Mold
-
Plaster Deep V-Reveal
-
Plaster Short V-Reveal
-
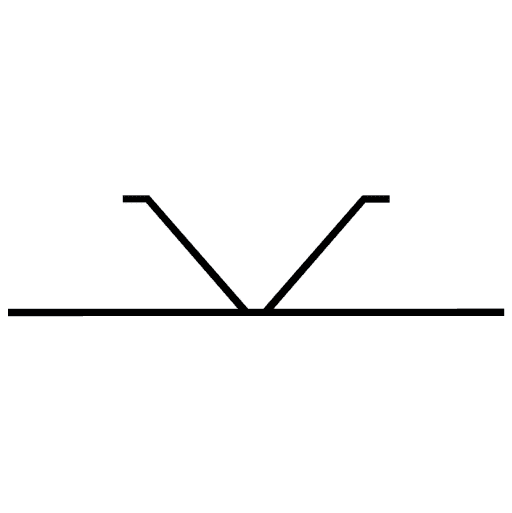
Plaster X-Mold
-
Plaster Corner Mold
-
Smooth Finish Channel
-
Smooth Finish F-Mold
-
Smooth Finish Window Return
-
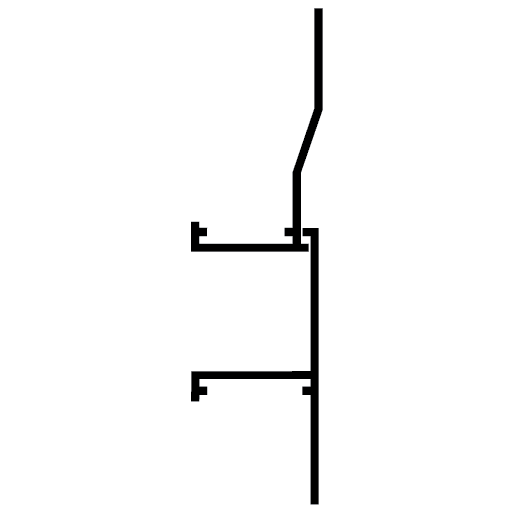
Plaster Window Return
-
Window Drip Cap Reveal